Direct Metal Laser Sintering3D Printing Design Guidelines
Our design guidelines for Direct Metal Laser Sintering (DMLS) include important information to improve part quality, minimize costs, and reduce overall manufacturing time. By following the guidelines, you can produce high-quality parts, reduce expenses, and improve productivity.
Quick Specifications

Quick Navigation
Overview
Direct Metal Laser Sintering (DMLS) uses a high-powered laser to selectively fuse metal powder particles layer-by-layer into dense, fully functional metal parts. This industrial-grade technology produces components in stainless steel, aluminum, and titanium with mechanical properties matching traditional manufacturing methods.
These DMLS design guidelines cover essential considerations for wall thickness, thermal management, support structures, and material-specific behaviors. Following these best practices ensures your metal parts achieve optimal strength, precision, and surface quality while minimizing distortion and post-processing requirements.

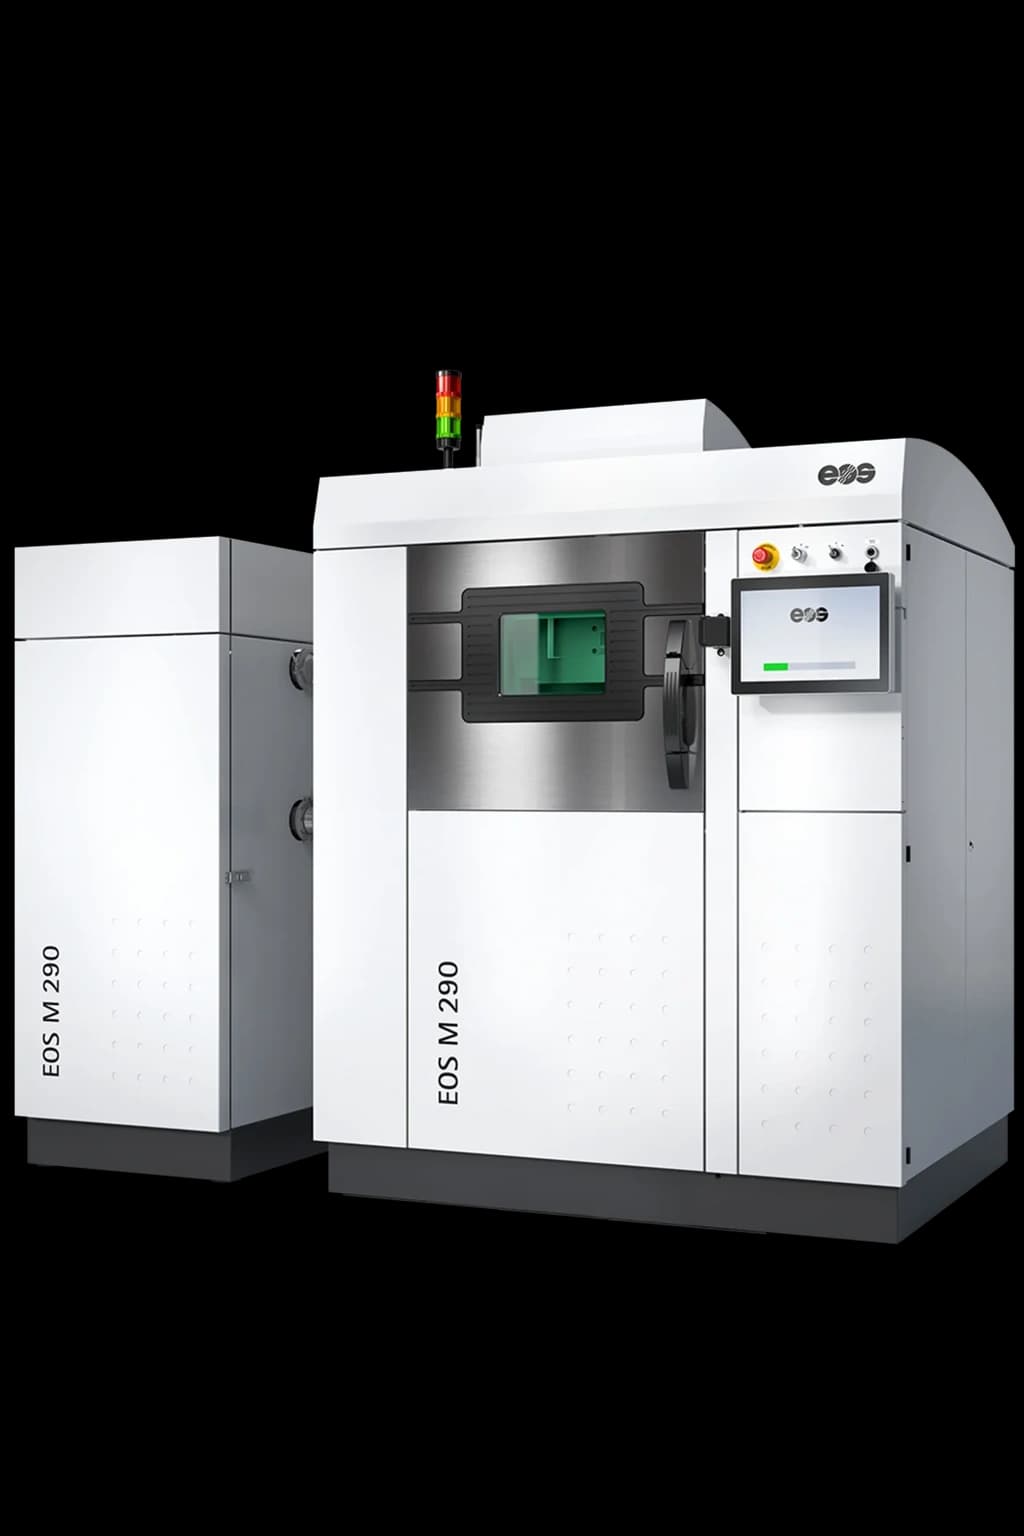
Maximum Build Volume
Varies by Material
Build volumes vary by material: Aluminum (AlSi10Mg) - 400mm x 300mm x 400mm (15.75" x 11.81" x 15.75"), Stainless Steel (316L) - 280mm x 280mm x 350mm (11.02" x 11.02" x 13.78"), Titanium (TC4) - 150mm x 150mm x 200mm (5.91" x 5.91" x 7.87").
Different materials have different optimal build chamber sizes for quality and cost efficiency.

Tolerances
Best achievable tolerances
Best achievable tolerances - <100mm: ±0.2mm, <200mm: ±0.3mm, <300mm: ±0.4mm, 300-400mm: ±0.4-0.5mm. If your parts require specific tolerances, an engineering drawing must be provided when requesting a manual quote.
Parts designed with thin, flat planes will likely warp, so this should be avoided if tight tolerances are required. Polishing removes approximately 0.1mm of material.

Layer Height
20 - 80 microns
Standard layer height varies by material. Fine layer heights provide better surface finish and detail resolution.
Thinner layers improve surface quality but increase build time and cost.

Surface Finish
Visible Layer Lines
Layer lines are visible on faces at a low angle relative to the build plate. Metal supports are removed, which may leave subtle marks in the surface of the part. Metal 3D printed parts are shot peened to a surface uniform roughness of 200 - 400 Ra after support removal.
Post-processing can significantly improve surface finish for critical applications.
Wall Thickness
Thicker geometries and walls with variable thickness are at risk of deformation due to shrinkage and stress. In general, follow wall design rules for injection molding to achieve a more uniform and consistent part.

Minimum Wall Thickness
1mm (0.031")
Supported walls are connected to two or more sides and are thick enough to support the model.
Thinner walls may warp or curl during the sintering process due to thermal stresses.

Minimum Unsupported Wall Thickness
1.2mm (0.039")
Unsupported walls are connected on only one side or edge.
Unsupported walls thinner than 1.2mm may sag or curl during the printing process.

Minimum Pin Diameter
1.5mm (0.059")
The minimum pin size depends on a combination of parameters such as; part orientation, nozzle diameter, and length of the pin.
Recommendations:
- Larger diameters required due to DMLS layer adhesion characteristics
- Consider pin length and support requirements
- Test critical pin features for strength requirements
Minimum Detail Size
The quality of engraved and embossed features depends heavily on part orientation and the resulting thermal effects of printing. Try to place fine details away from overhanging faces that require support, since touchpoints can interfere with intricate geometry.

Debossed Details
Minimum depth: 0.5mm (0.019")
Debossed details are recessed features on your model. These features should be no shallower than 0.5mm (0.019").
Add draft angles to debossed features for better definition and easier support removal.

Embossed Details
Minimum depth: 0.5mm (0.019")
Embossed details are raised features on your model. We recommend a thickness of 1mm (0.039") & depth of 0.5 mm (0.019").
Recommendations:
- Use bold, simple shapes for better definition
- Avoid placing detailed features near support attachment points
- Consider post-machining for critical detailed areas

Text
Minimum point size: 16pt
Minimum suggested text size on the top or bottom build plane of a DMLS model is 16 point boldface. Minimum suggested text size on vertical walls is 10 point bold.
Recommendations:
- Use bold, sans-serif fonts for best results
- Orient text horizontally when possible
- Consider support elimination for vertical text
Part Clearances
The mechanical performance of printed assemblies is sensitive to variables such as print orientation, layer height and machine tolerances. It is best to test and refine any mated parts before committing to a full production run.

Minimum Clearance
0.5mm (0.019")
Clearance is the distance between two moving parts on hinges, joints, mating parts, etc.
Insufficient clearance can cause parts to fuse together during the printing process.

Minimum Press Fit
0.3mm (0.004")
For a tight press fit, add a small offset, and chamfer the leading edge to ease entry. Always print an initial test part to dial in dimensions.
Recommendations:
- Test press fits extensively before production
- Account for material thermal expansion
- Consider surface finish effects on fit

Printed Linkages
Minimum: 0.6 mm (0.023")
This defines the minimum allowed gap between a bush and a bolt, to avoid bonding of the hinge parts.
DMLS can print functional assemblies, but clearances must be carefully designed and tested.
Holes & Gaps
Hole accuracy can vary depending on print orientation, thickness of surrounding material and support structures. For tight tolerances, consider printing center marks and post-machining them instead.

Minimum Hole Size
0.5mm (0.019")
Depending on orientation, circular holes can resolve as ovals – if higher accuracy is required, printing the hole smaller and then drilling it out is recommended.
Vertical holes print more accurately than horizontal ones due to layer stacking.

Minimum Gap Size
0.5mm (0.019")
Gaps or slots can fuse if made too narrow, and support material may be difficult to remove. If possible, orient gaps along the xy-plane for highest accuracy.
Recommendations:
- Orient gaps horizontally for best accuracy
- Consider support removal accessibility
- Account for material thermal expansion

Minimum Drain Hole Size
4 mm (0.15")
Hollow features may be filled with soluble support material, and must be designed with drain holes so that the support can be dissolved and removed during cleaning. Larger parts or parts with complex internal features may require larger holes to allow support material to fully dissolve.
Soluble supports make complex internal geometries possible with proper drain hole design.
Part Geometry
Part geometry can be optimized for 3D printing to reduce material usage, increase strength and rigidity, and take advantage of machine capabilities.

Fillets
Design Recommendations
Fillets can be used to reduce stress concentrations and increase the strength of your part. When designing fillet features across inside and outside corners, it is best to have them share a common center point in order to maintain a consistent wall thickness.
Recommendations:
- Use fillets to reduce stress concentrations in metal parts
- Maintain consistent wall thickness across filleted areas
- Consider fatigue resistance in high-stress applications

Bosses and Ribs
Design Recommendations
Bosses and ribs are an effective way to add strength and stiffness to a part while keeping material consumption to a minimum, this can also reduce build time and use less support material.
Recommendations:
- Bosses and ribs can generally be matched to part thickness
- Use ribs to support large flat surfaces
- Consider heat set insert compatibility for bosses

Support Structures
DMLS Printing
Parts do not require physical support structures. Parts are supported by the surrounding powder in the build chamber. This powder material is removed using compressed air glass beads leaving no defects or residual powder on the final part.
DMLS parts are self-supporting by nature, providing consistent mechanical properties throughout.

Infills
DMLS Printing
Infills are not applicable for DMLS 3D Printed parts. Walls are printed solid throughout.
Solid metal construction ensures consistent mechanical properties throughout the part.
Threads & Inserts
Threads and inserts can increase functionality of your parts, but keep in account that printed threads will wear down through repeated cycles of assembly and disassembly, while heat set inserts can potentially deform or cause imperfections on part finish due to the heat processes of installation.

3D Printed Threads
DMLS Guidelines
We recommend M6 thread sizes or larger, and use thread profiles designed for plastics. The rough surface produced from DMLS printing will result in increased friction with connecting thread parts. We recommend using an offset of 0.5mm to compensate for thermal shrinkage.
Recommendations:
- Use coarse thread pitches for better durability
- Add 0.5mm clearance offset for thermal shrinkage
- Consider the naturally rough surface texture

Tapping & Threading
DMLS Post-Processing
Design parts with holes sized for tapping, or center marks for drilling a pre-tapped hole. Tapping removes material, puts pressure on the surrounding geometry, and fastener locations are often points of stress, so make sure there is enough material surrounding the tapped hole.
Ensure adequate wall thickness around tapped holes to prevent cracking under stress.

Inserts
DMLS Applications
Inserts are not required for DMLS parts.
DMLS parts can be directly threaded or machined for fastening without inserts.
Post Processing
While printed parts are highly functional and accurate, there are a variety of ways to modify them after printing to enhance durability or aesthetics.

Sectioning, Joining, and Bonding
DMLS Post-Processing
Parts too big to fit on the print tray can be split in CAD and printed in multiple parts, then glued or press fit. Use joinery features, such as tongue and groove, to ensure the sections are aligned and bond tightly.
Recommendations:
- Use welding or brazing for permanent metal joints
- Design precise alignment features for assembly
- Consider thermal effects on joint integrity

Post-Machining
DMLS Machining
Parts can be machined to tighter tolerances using traditional or CNC subtractive manufacturing equipment.
Sharp tools and proper speeds/feeds are important when machining DMLS parts.

Coatings
DMLS Finishing
Parts can be sanded, primed, and painted for an excellent surface finish. Parts can also be coated with a lacquer, varnish or clear coat for various custom finishes.
Recommendations:
- Sand layer lines before painting for smooth finish
- Use appropriate primers for plastic substrates
- Consider UV resistance for outdoor applications

Vapor Smoothing
DMLS Post-Processing
Not applicable for DMLS.
DMLS parts achieve excellent surface finish through bead blasting and other mechanical processes.
Ready to Start Your Direct Metal Laser Sintering Project?
Upload your design and get an instant quote optimized for direct metal laser sintering manufacturing.
Click to start your quote
STL, STEP, OBJ, 3MF supported • Get instant pricing